
 Custom in-ear monitors (CIEMs) provide a perfect fit and an amazing sonic experience, and The Headphone List has reviewed quite a few. Previously we have discussed the step-by-step process for getting a pair of CIEMs and The process invariably involves getting a set of molds, or impressions, of your ears.
Getting ear impressions usually requires visiting your local audiologist and paying anywhere from $25 to $150 for the impressions (we are not talking about cheap kits you microwave and/or manually push into your ear). However, some CIEM manufacturers include full do-it-yourself ear impression kits that are shipped to you when you place your order, and a few companies sell stand-alone kits. Many of our readers have asked about taking their own impressions, so we decided to share our experience.
I, for one, have been taking my own impressions for quite some time – and when I mean taking my own, I mean I do it solo. ljokerl also takes his own ear impressions, but has his significant other help at key points in the process. Before taking my own impressions, I had 4 or 5 professional sets taken, and not all were what I consider great, especially not the very first set. I get better results taking my own impressions, not to mention the time and cost benefits.
Many mail order hearing aid companies send out self-impression kits and have great success, but hearing aids are often open so the quality of the impression isn’t as important as for CIEMs. Should you take your own ear impressions for CIEMs? Here are some questions to answer before you go down the self-impression road:
- Do you have healthy ears and no wax buildup?
- Have you had impressions taken before so you know what to expect?
- Can you insert the oto block deep enough into your ears?
- If you don’t get it right the first time, do you have enough material to do it again? If you save material to do it again, are you using enough material for a complete impression?
- If you do make a bad impression, how difficult will it be to get a refit later with new impressions?
- Do you know if the impression material used will retain its shape during transit?
There are risks to taking self-impressions as far as getting the fit right, but there are also other potential risks, include potentially damaging your ears. Here are some worst case examples:
- You have wax buildup and push it deeper into your ear canal, causing a blockage
- The impression material isn’t mixed properly, and some gets stuck in your ear
- The oto block isn’t inserted properly or is incorrect in size, and the impression material goes all the way to your ear drum
The first two will require cleaning of the ear canal either professionally or with some know-how and an ear cleaning kit. The third can be extremely serious, and can result in a ruptured ear drum. Luckily, the viscosity of self-impression kits is usually high enough that it’s very difficult to inject impression material too deep.
It depends on who you talk to, but there are many people that don’t want the hassle or risk to take their own impressions. Audiologists generally recommend strongly against it due to the “danger,” but there are cases of professionals damaging people’s ears, although it is extremely rare. We at The Headphone List don’t believe the danger is great if caution is taken, but we aren’t medical professionals. Our stance is to get impressions from a vetted audiologist if at all possible due to convenience and safety. Plus, most people aren’t going to get the number of impressions made we do.
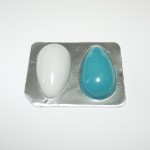
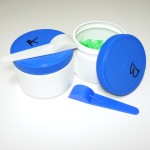
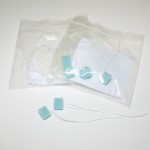
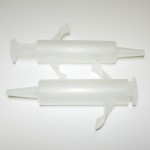
COMPONENTS OF A TYPICAL DIY EAR IMPRESSION KIT
Ear impression kits typically include single packs of 2-part material (see below for more info on materials), oto blocks, and one syringe, with enough material to take 3 impressions.
REGARDING DIFFERENT IMPRESSION MATERIAL
Impression material matters. Professionals use a variety of materials ranging from cartridge to hand mixed to powder. Here are the three main types of ear impression materials:
- Liquid and powder: Liquid and powder has a bad reputation and it is recommended to stay away from it because of reported shrinkage and stability issues. I have not used this type of material.
- Two part hand-mixed: comes in two parts that will remain putty-like until they are mixed together by hand. Once mixed, there is a set amount of time that passes before they cure into permanent form. The timeframe can vary, but the ones I have used average around 7 minutes. I have used a 5 minute product and had trouble taking the complete impression before the material started to cure and affect the impression. Also, in my experience, the material sets quicker as it ages.
- Cartridges: Cartridges have two different materials inside that are mixed together as they are pushed out of the cartridge. Typically, they have a low viscosity, which means the consistency is softer and will flow better into smaller areas. I have only personally used a cartridge once – for the Fit Ear PS-5, which required a special silicone. All other times have been in an audiologist’s office. DIY impressions with cartridges are risky because the lower viscosity presents a much bigger risk of ear injury if the oto blocks are not inserted properly.
Viscosity matters in that lower viscosity material, usually from cartridges, won’t stretch the cartilage in the ear when an impression is taken. This will result in the canal portion of the impression being slightly smaller compared with impressions taken with a higher viscosity material. The end result may be a looser fit that doesn’t isolate quite as well as the tighter fit you would get from higher viscosity material. Manufacturers may know what type of material was used by the color and adjust accordingly, but that isn’t a given. In my experience, my CIEMs fit great based off medium-high viscosity two-part material.
Independent of material type and viscosity is shore value, which is the after-cure hardness of the material. The higher the value, the better; however this information is not typically provided.
STEPS FOR TAKING SELF-IMPRESSIONS
Disclaimer: We are not medical professionals and all information provided is for informational purposes only. We do not advocate taking your own ear impressions and suggest at least your first set of impressions be made from a qualified audiologist.
If after reading the above you are comfortable taking your own ear impressions, here are the steps (note: if you don’t feel comfortable in steps 1 through 6, it may be best to leave making the impressions up to a professional):
- Read the instructions all the way through and make sure you understand the process fully.
- Clean your ears and wash your hands.
- Lay out everything in the impression kit and prepare the plunger(s).
- Insert the oto blocks (with the help of a Q-tip) as deep as is comfortable. In our experience, foam oto blocks work better than cotton and too large of a size will result in short canals. The goal is to get the block to the second bend of the ear canal. I do this by slowly continuing to push the oto block deeper and deeper until I experience discomfort, then pulling back on the string a bit to slightly reduce the depth of the oto block. This is extremely important as the deeper the oto block, the more accurate the canal portion of the impression will be.
- Gently tug on the oto block string to make sure they are deep enough. The remaining string should be similar in length for both ear canals. If someone is helping you, they can peek into your ear with a flashlight to ensure the oto block is in place properly (usually that means they won’t be able to see the block itself, just the string rounding the bend of the ear canal).
- If making impressions for an acrylic-shelled CIEM, it is generally recommended to put in a 1″ bite block or a substitute of similar thickness. However, it’s best to always follow the CIEM manufacturer’s recommendations on this, so check if they have an audiologist instruction sheet available.
 Mix the material (see above for more info on DIY impression materials). This step should be done quickly as the typical self-impression kit material cures relatively fast (typically around 7 minutes in my experience) and taking too much time will greatly increase the chances of voids in the concha area of the mold.
- Put the mixed material into the syringe.
- Thoroughly fill the ear canal and then the outer ear with the impression material.
- Let the impression material cure, which usually takes between 5 and 10 minutes. Make sure the impression material that remains in the syringe is hard before removing the impressions from your ears.
- Remove the impressions by rotating forward while pulling out.
- Inspect the impressions for defects such as voids and short canals.
- Reinsert and use them as you plan on using your CIEMs. If you don’t lose the seal, they are good.
With practice the whole process takes 15-20 minutes.
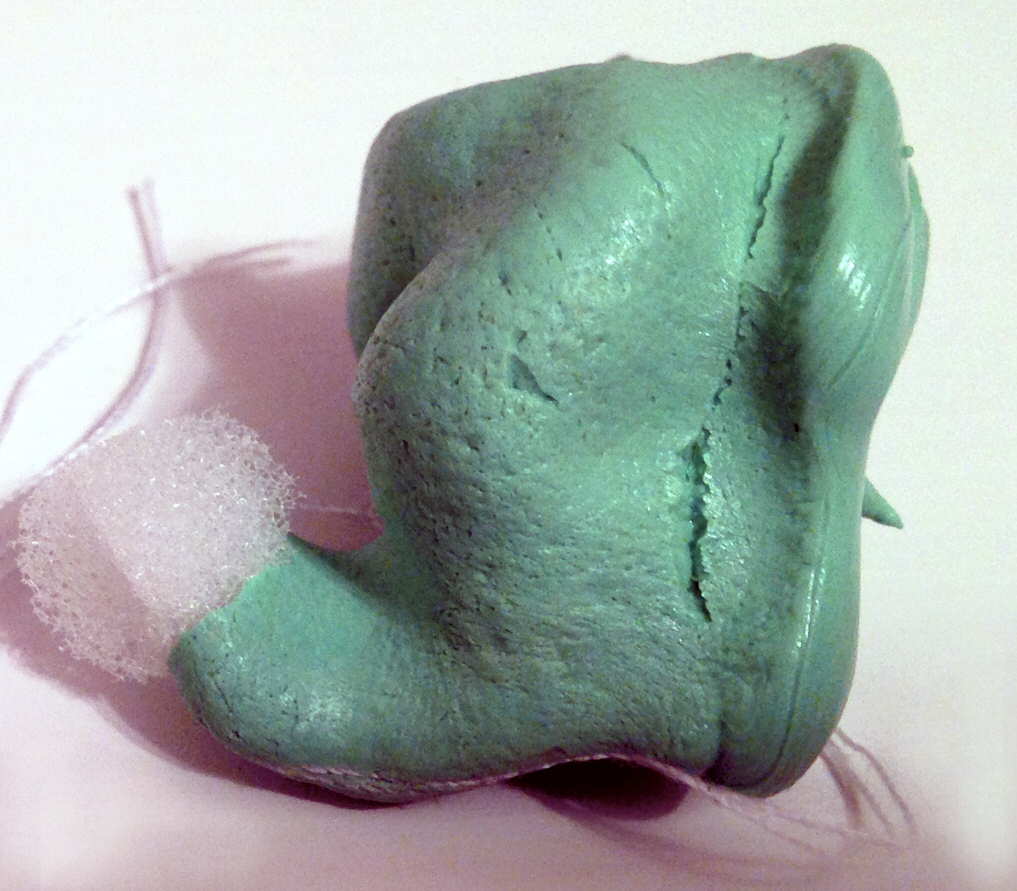
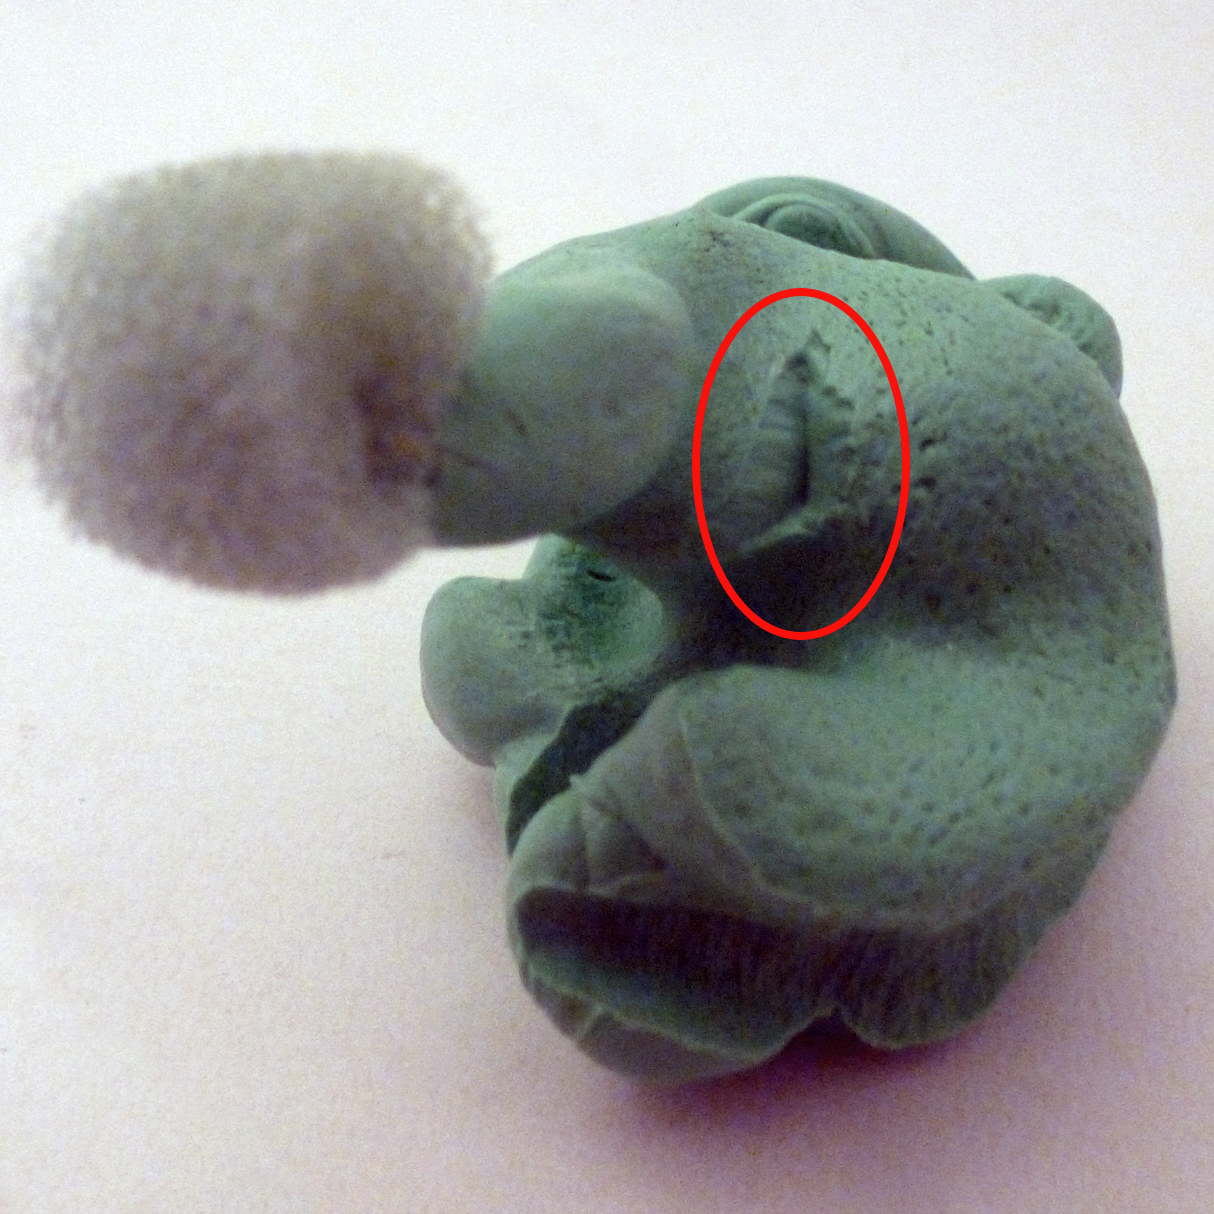
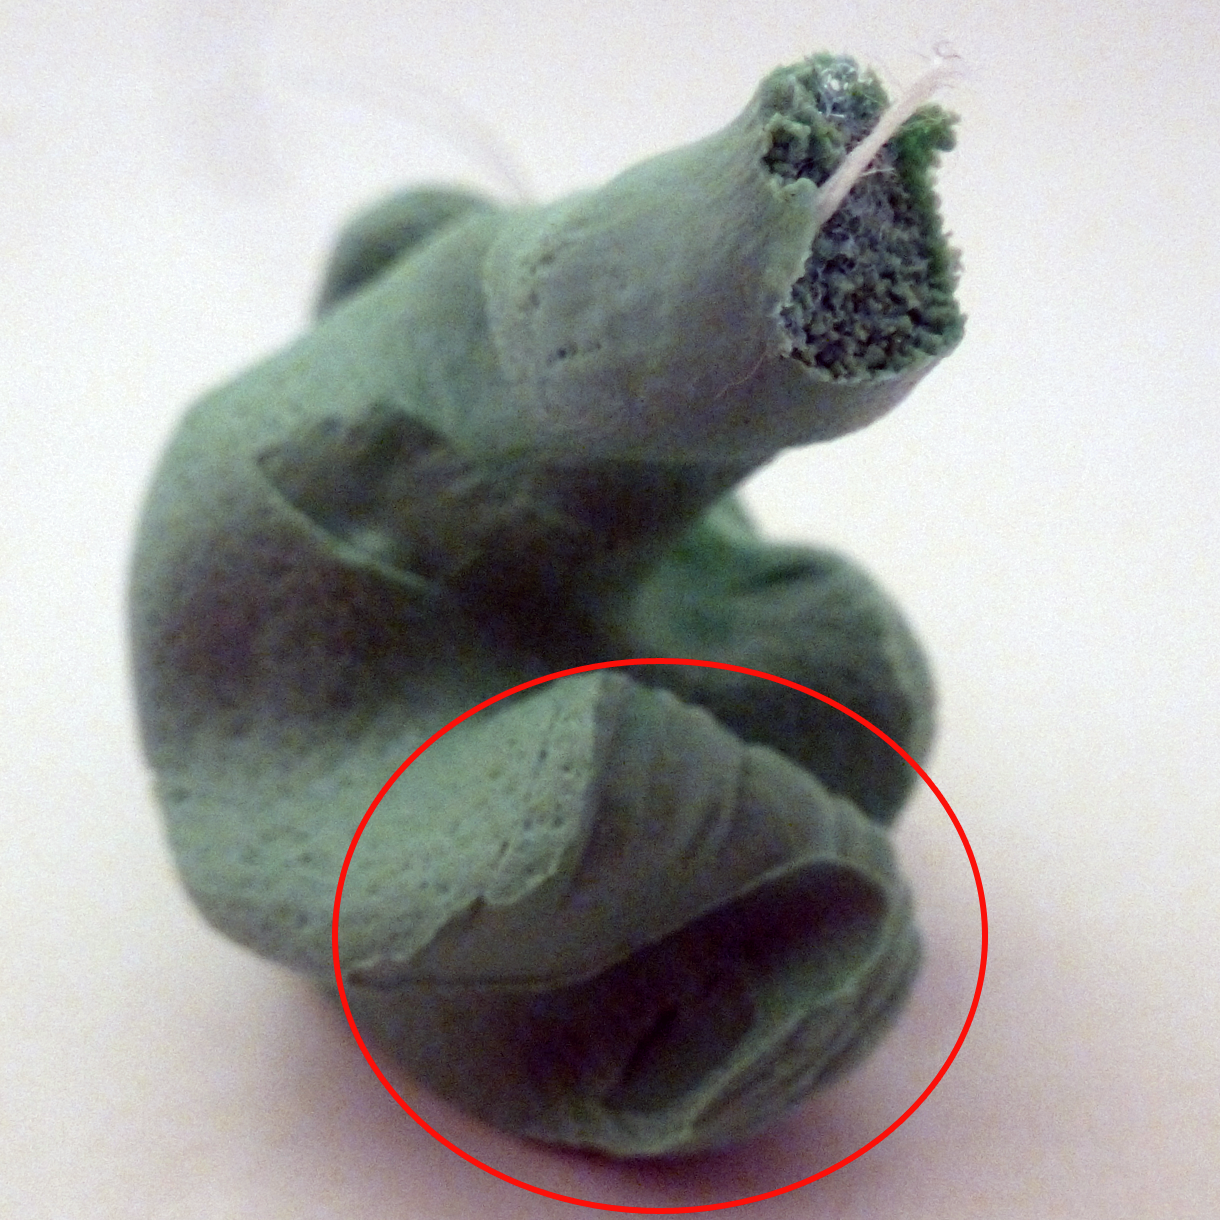
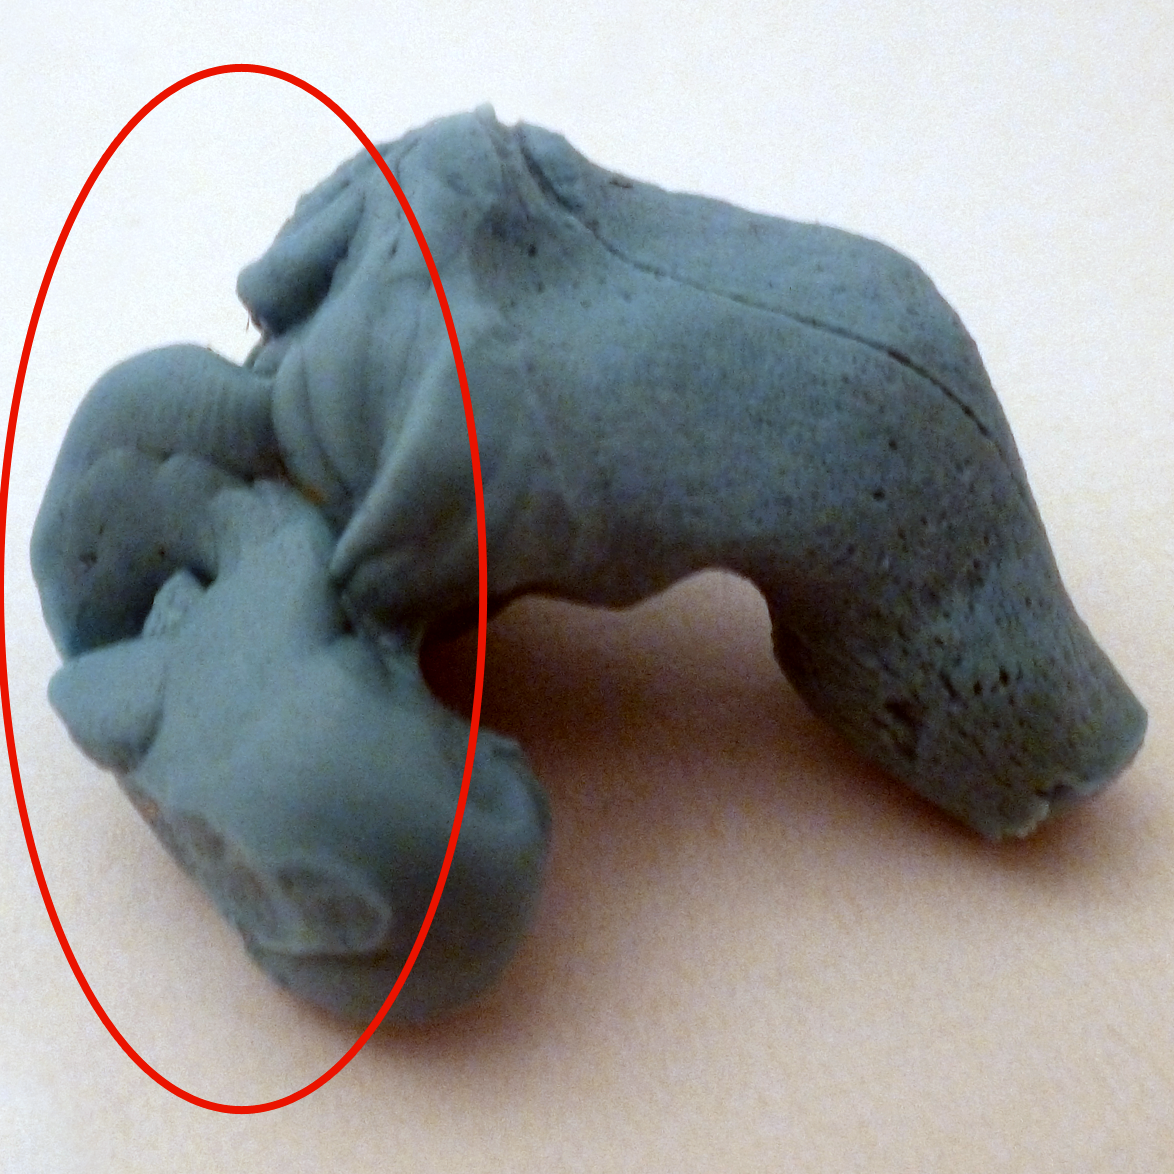
EXAMPLES OF GOOD IMPRESSIONS
A good set of ear molds displays the full contour of both the outer ear and the ear canal, to a sufficient depth.
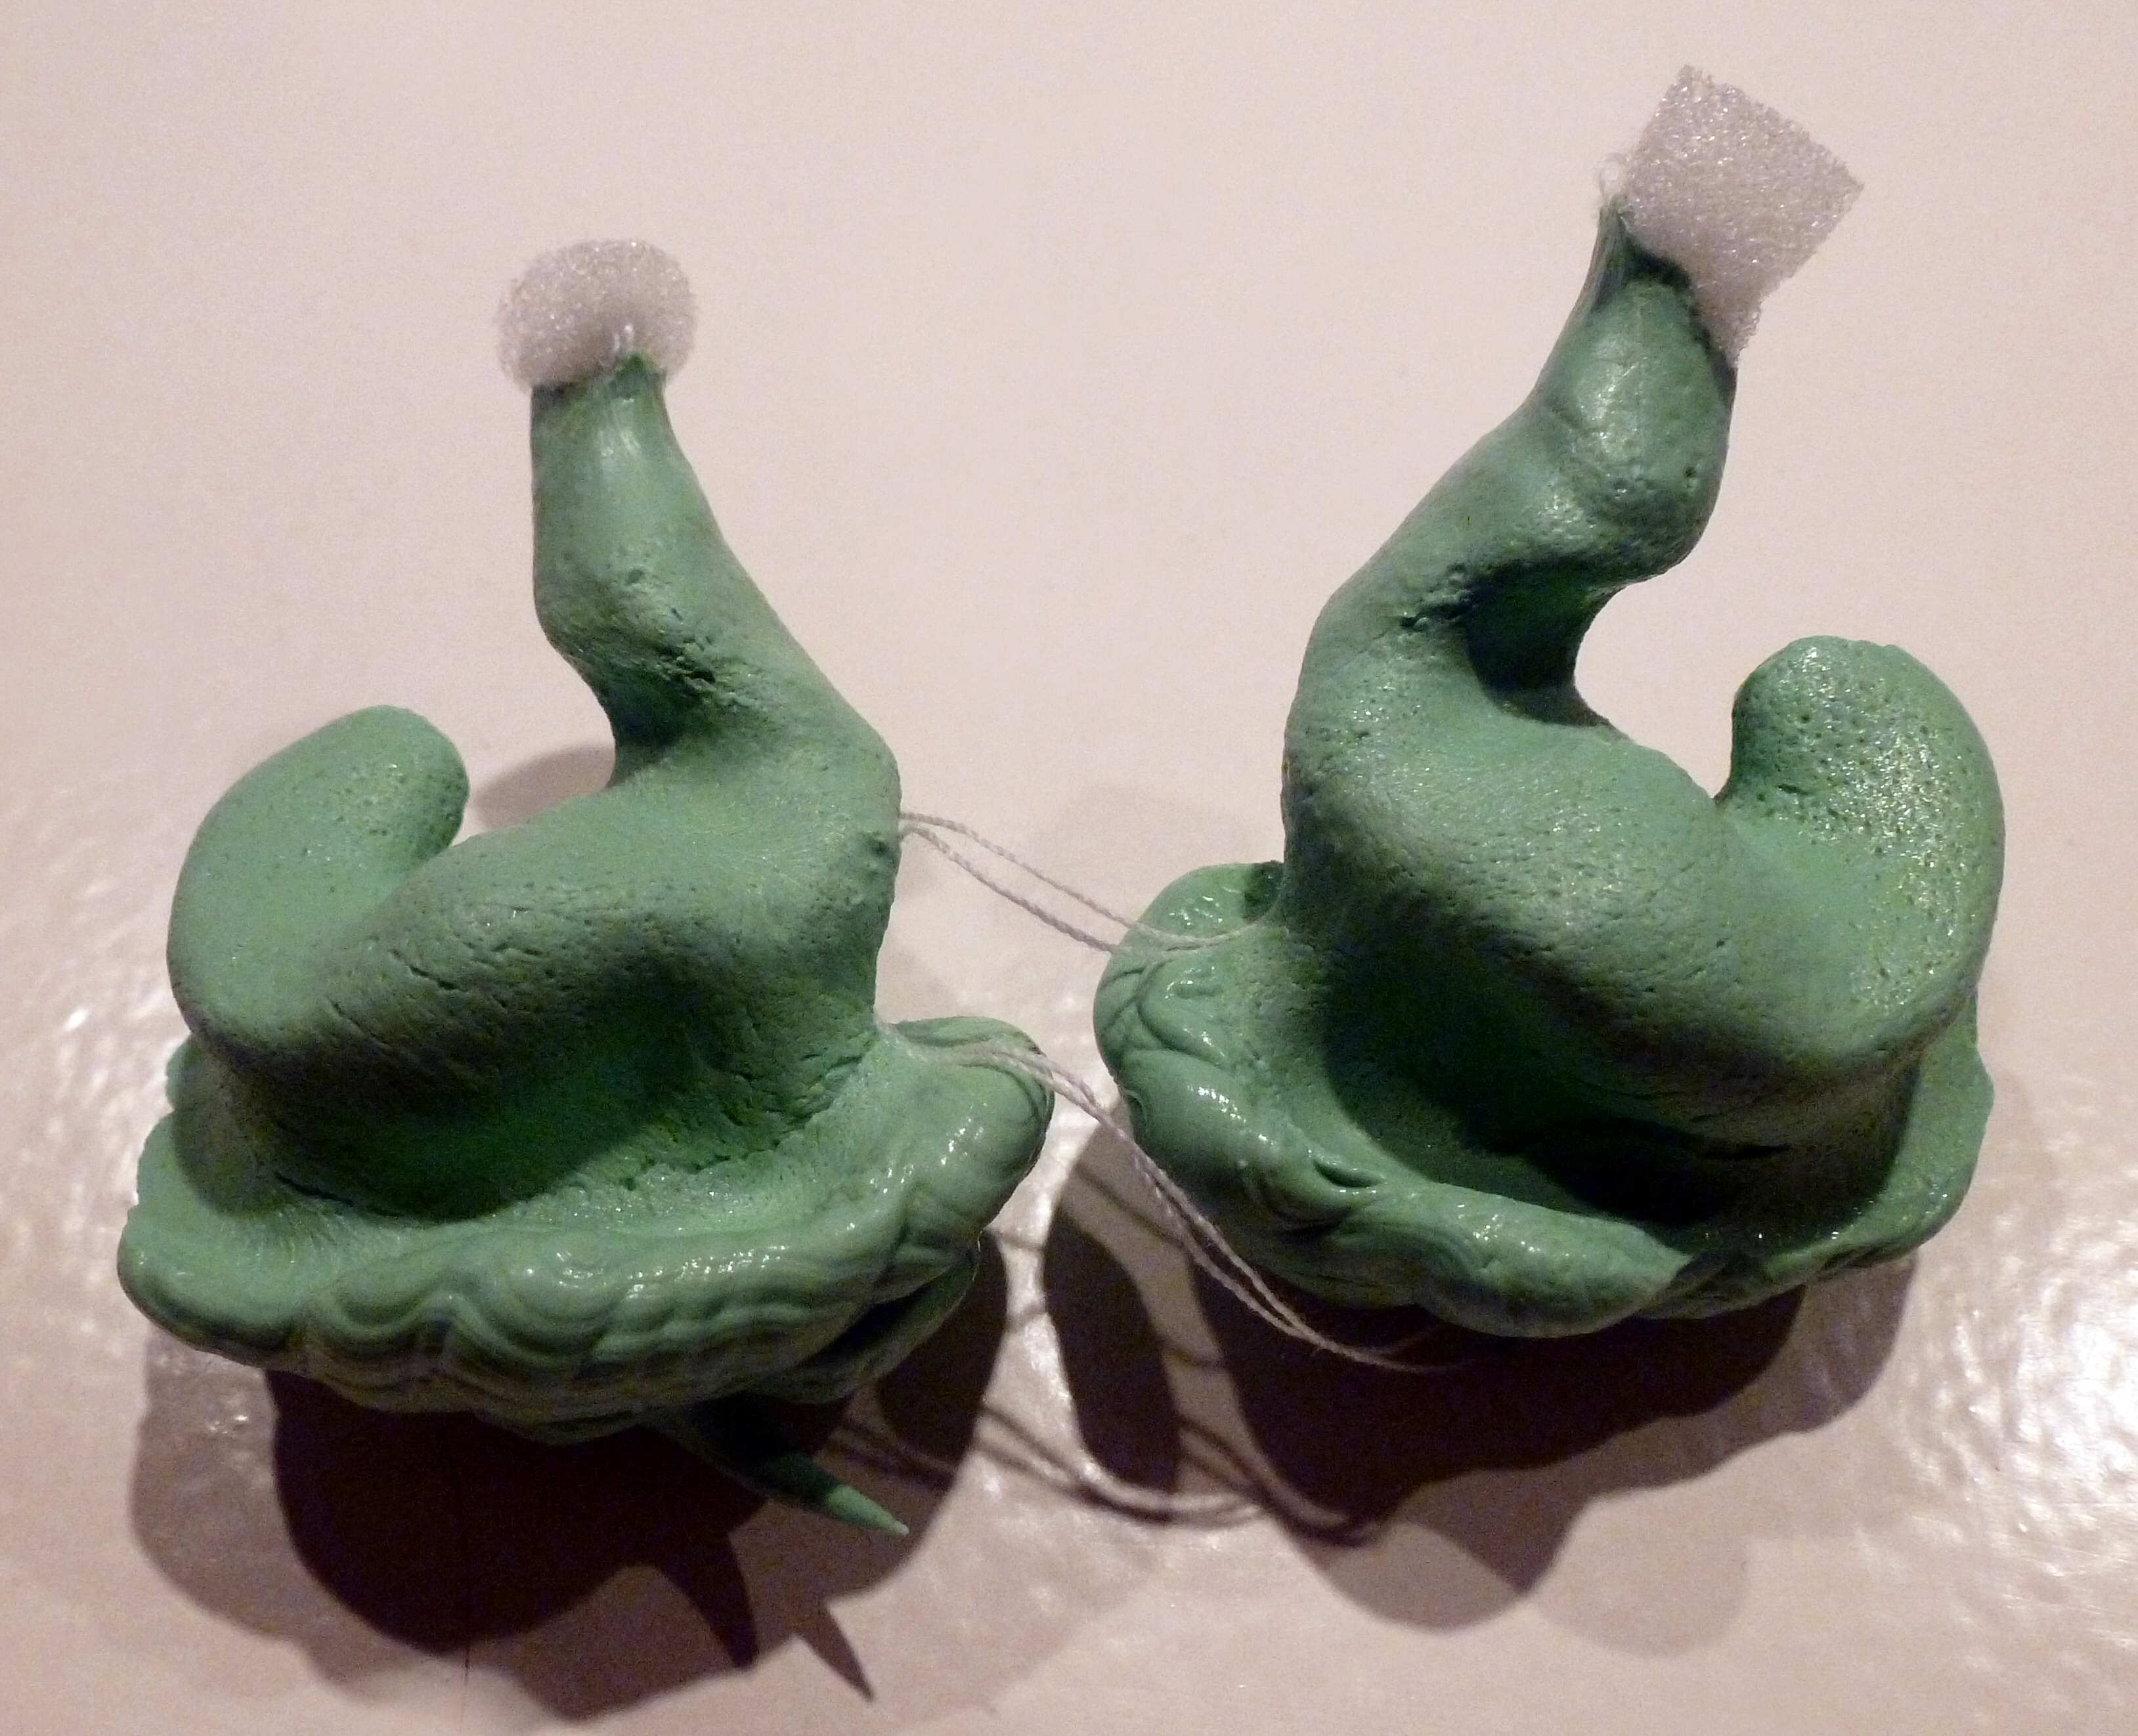
This diagram shows the important parts of a good impression for fit and seal. While not much is typically said about the angle of the sound tubes, it is very important an the diagram provides a reminder. In my experiences I have had one CIEM with an improper angle, and believe me, it made a huge difference to the sound. With deep impressions such as the ones shown above, the angle of the sound tubes should always be right unless someone just messed up.
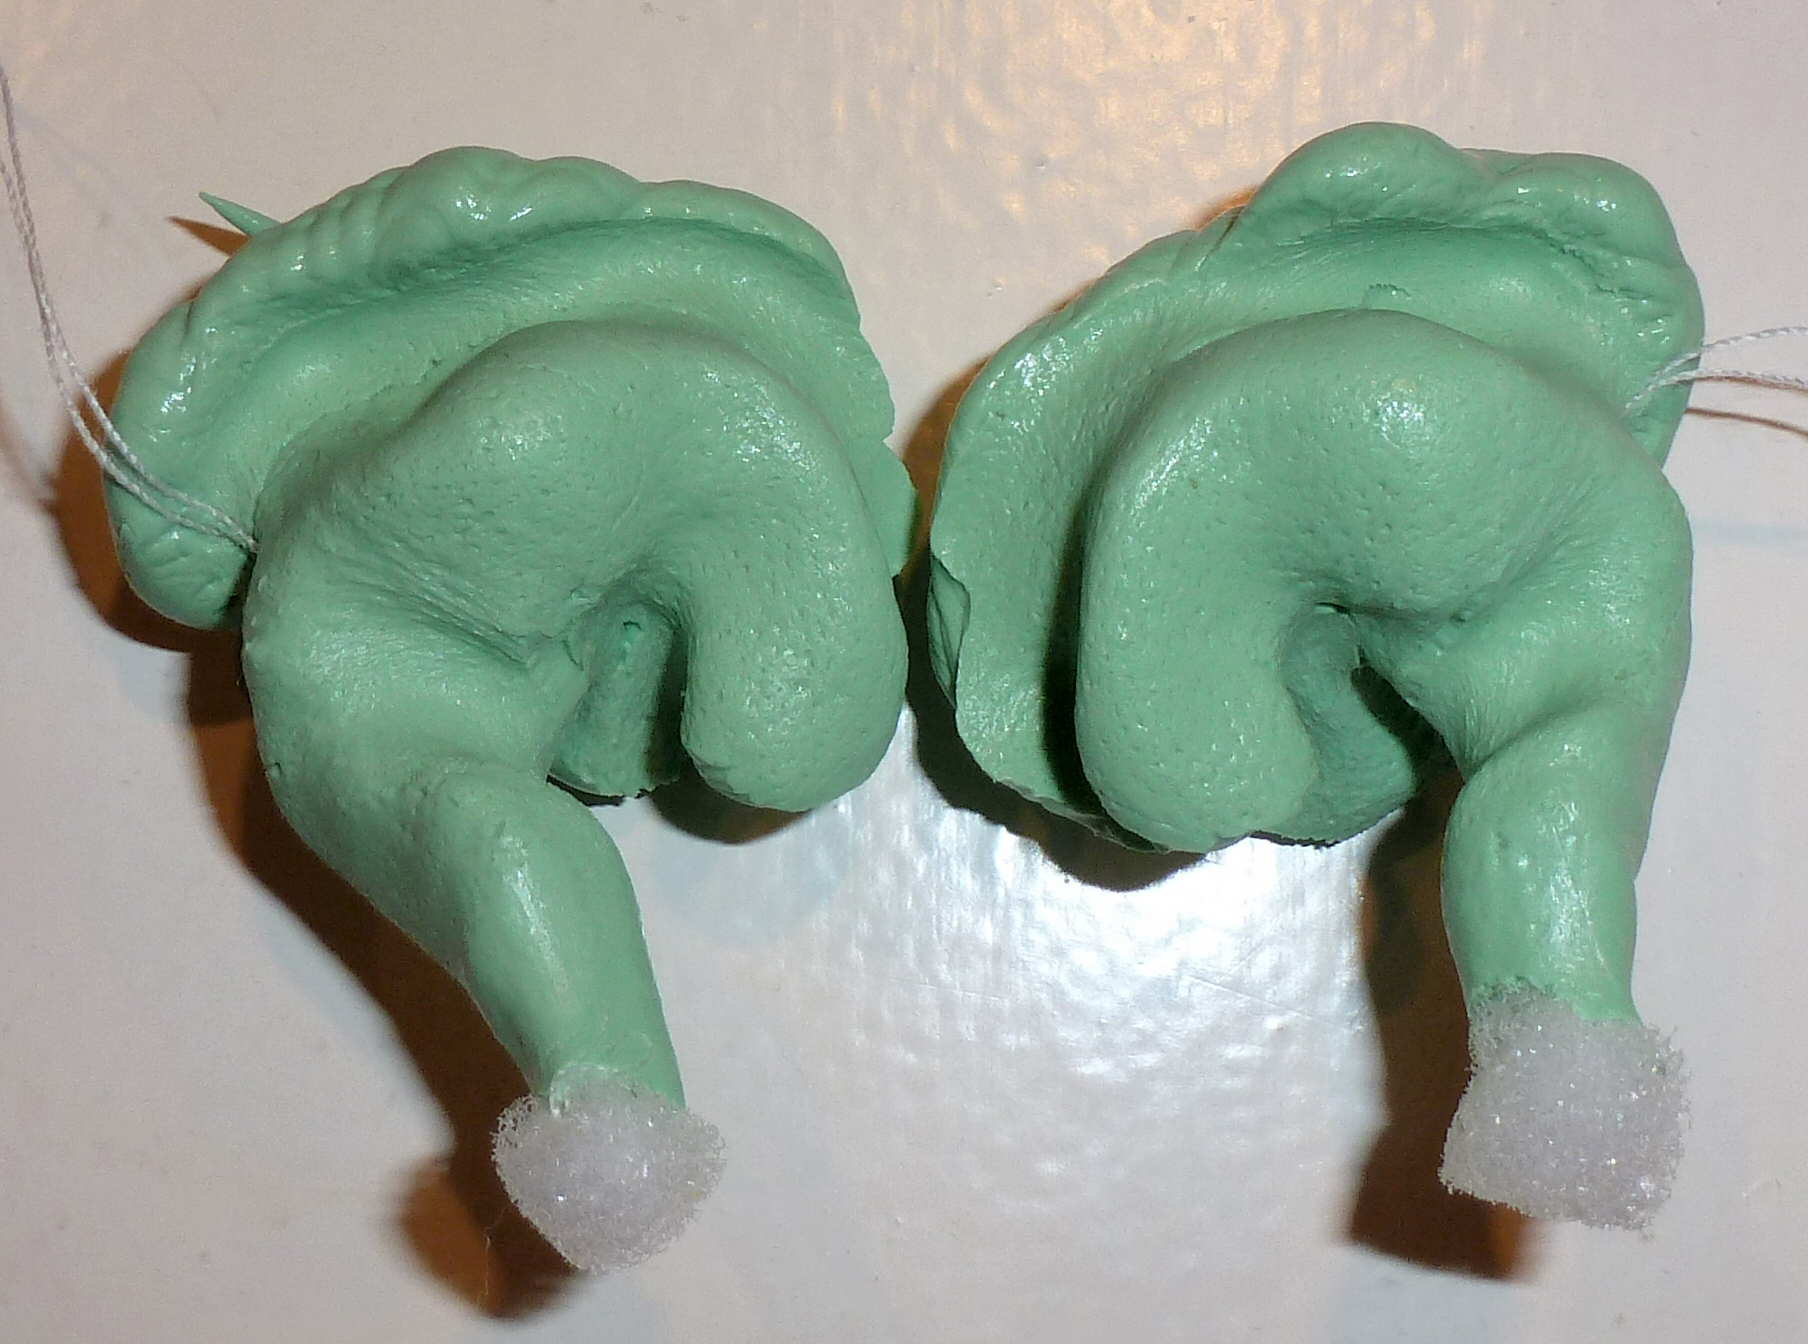
EXAMPLES OF BAD IMPRESSIONS
Having extensive experience in making ear self-impressions, I have made plenty of sub-standard impressions. Below are some of my mistakes. Luckily, I have a tub of material, so I can make as many as I fell necessary to get it right!


Additional examples of bad impressions can be found here.
ADDITIONAL RESOURCES
Two part ear impression kits
Earplug Superstore
E.A.R. Inc.
Custom Earpiece
Audiologist supplies
Precision Laboratories, Inc.
MicroSonic
eHow.com has an article on How to Make an Ear Mold Impression in 16 steps. Audiology Online has a good article on Ear Impressions: Art or Science? that discusses how to take consistently good ear impressions . We also have our own fit guide that discusses how to make sure your CIEMs fit perfectly.
Want to know more about CIEM fit, read the Custom in-ear monitors fit guide.


8 Responses
Good luck and be safe. If this is your first time, I highly recommend getting professional ear molds for all the reasons described in the article.
these are beautiful ciem good job. I plan on doing at home earmolds also , i’m gonna bite the bullet and hope for the best.
The sound tube direction is not unlike setting up room speakers. If you aim the front of the speakers at the wall, how good will they sound? It really isn’t a big issue as far as I know, but can occasionally happen.
Some manufacturers ship impressions back, most don’t. You can usually request them back, but are they cut the way another company would want? I haven’t really explored this and believe most manufacturers want a new set of impressions to make sure things are done right.
We have a few guides, but there are more to come…
Nice additions.
Interesting to note that sound tube direction is that significant despite being (almost) past the second bend.
Hmm..Didn’t know custom art shipped the impressions back.
—-
Thanks for the reply.
Fit guide, Buyers guide and now, the impressions guide rounds off a nice start to finish guide for prospective CIEM buyers. Awesome work!
Of course there are minutiae that can be added regarding the process, but that would just draw out a crisp article.
Thanks! I added some additional links of good/bad impressions for even more clarity. Yes, there are differences between hearing aid and CIEM impressions as hearing aids typically are open (no seal), don’t go as deep, and don’t have the outer ear portion. Precision isn’t nearly as important.
Lol, I cringed when I took that impression. Luckily the material was viscous enough to prevent it from going too deep, but I could feel (sense) it when it happened. If it was cartridge material, that would have been a problem. I am quite happy it turned out fine, possibly in part due to my larger ear canals, and in reality, the total depth of the impression is about the same as the good impressions above including the oto block, but the oto block wasn’t nearly as deep. I double check my oto block placement now.
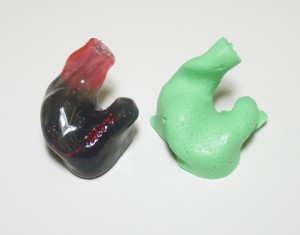
The image is of joker’s Harmony 8 Pro.
Thanks. Self-impressions aren’t for everyone, and there are risks. Finding a quality audiologist is important and hopefully the more you know about impressions, the better your results when an audiologist does take impressions.
Nicely crafted article average_joe (in many ways).
It’s nice that you have included the examples of good/bad impressions. This should help if the audiologist isn’t experienced (when it comes to CIEM impressions). I believe the impressions requirements for CIEMs are slightly different from conventional hearing aids?(Depth, concha coverage etc). Sorry if I am mistaken.
I cringed hard at that “Oto-block not centered” image. How far is the oto block from the eardrum in that pic?
PS: Is that the Harmony 8?
Great article…I have always considered Customs a bit out of reach, but the further into this hobby I get, the more of a possibility it becomes. Instinctively, I figured an audiologist was the way to go. Now seeing how many things can go wrong, I’m all but convinced.